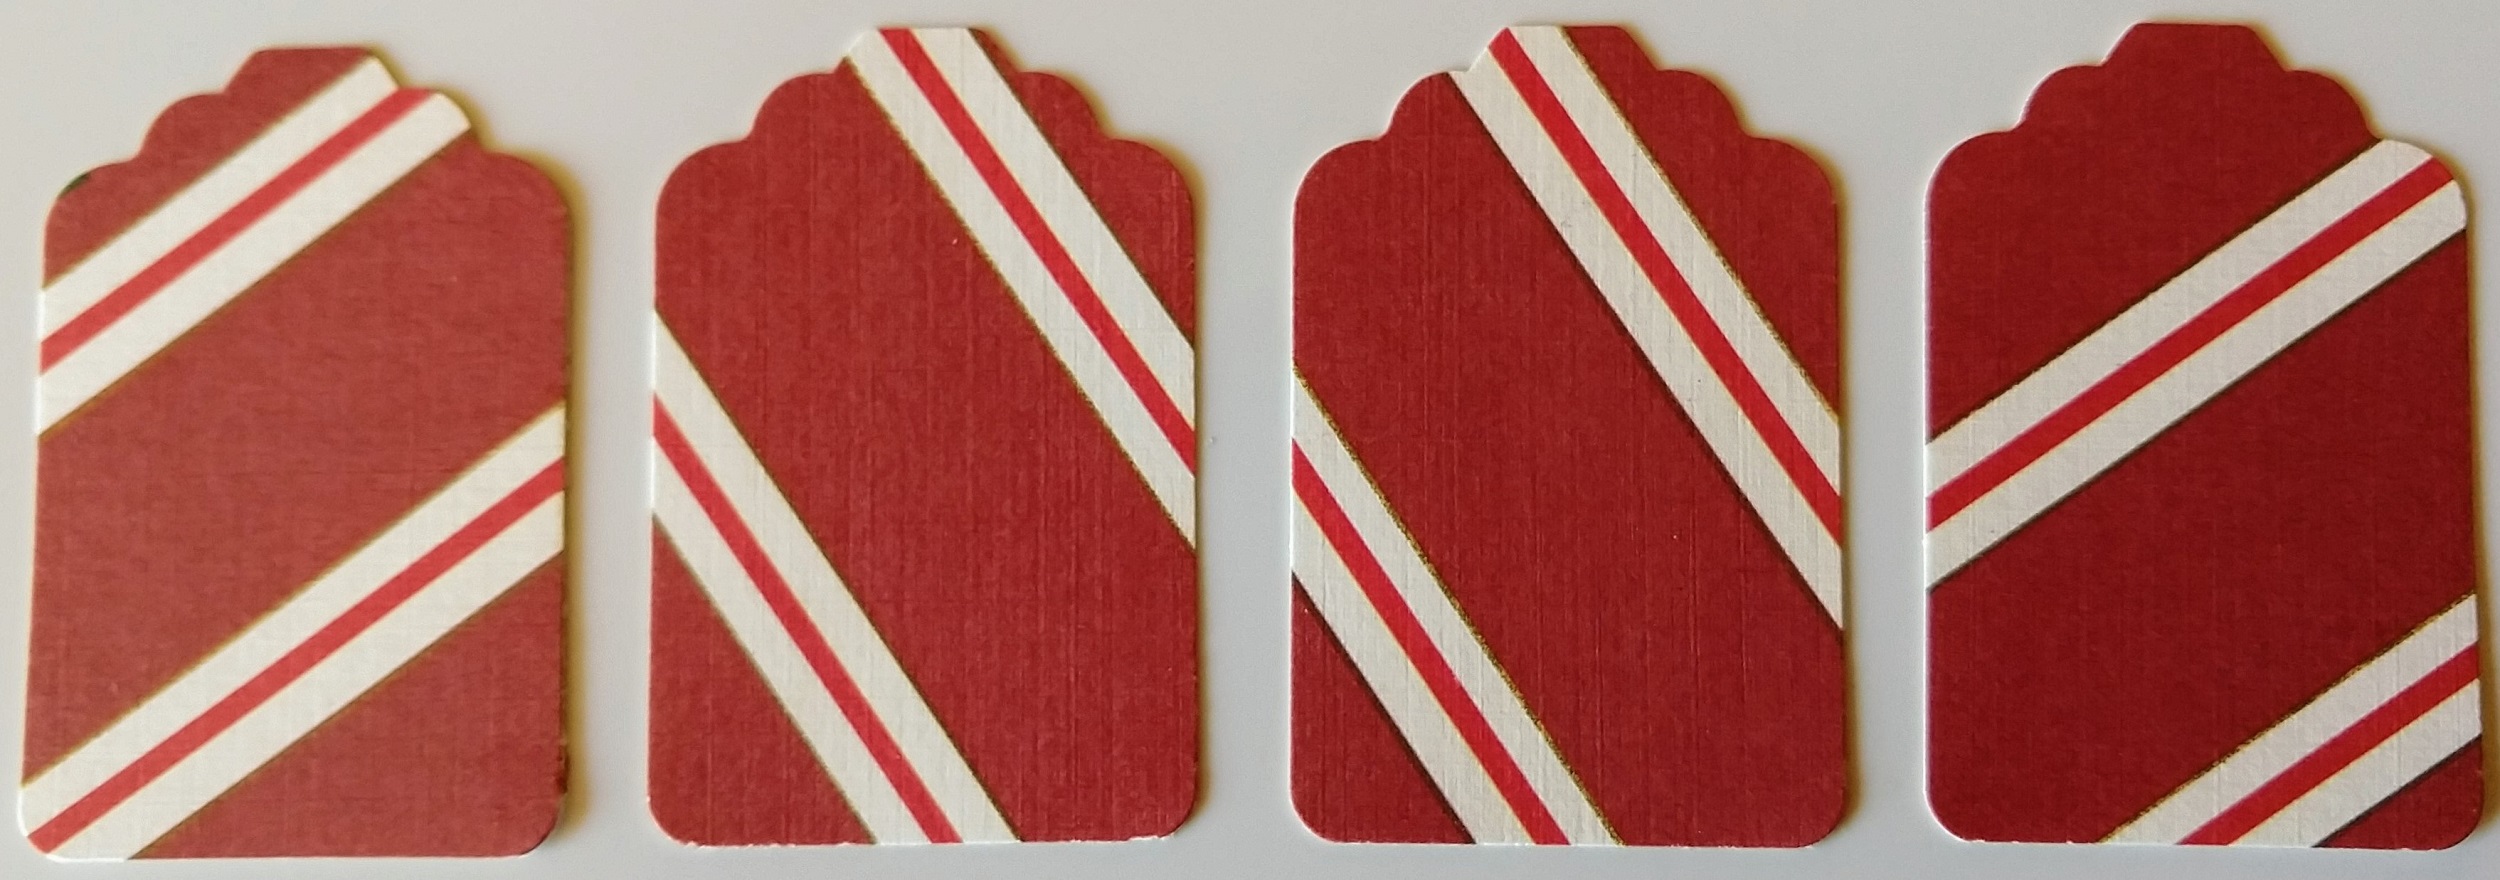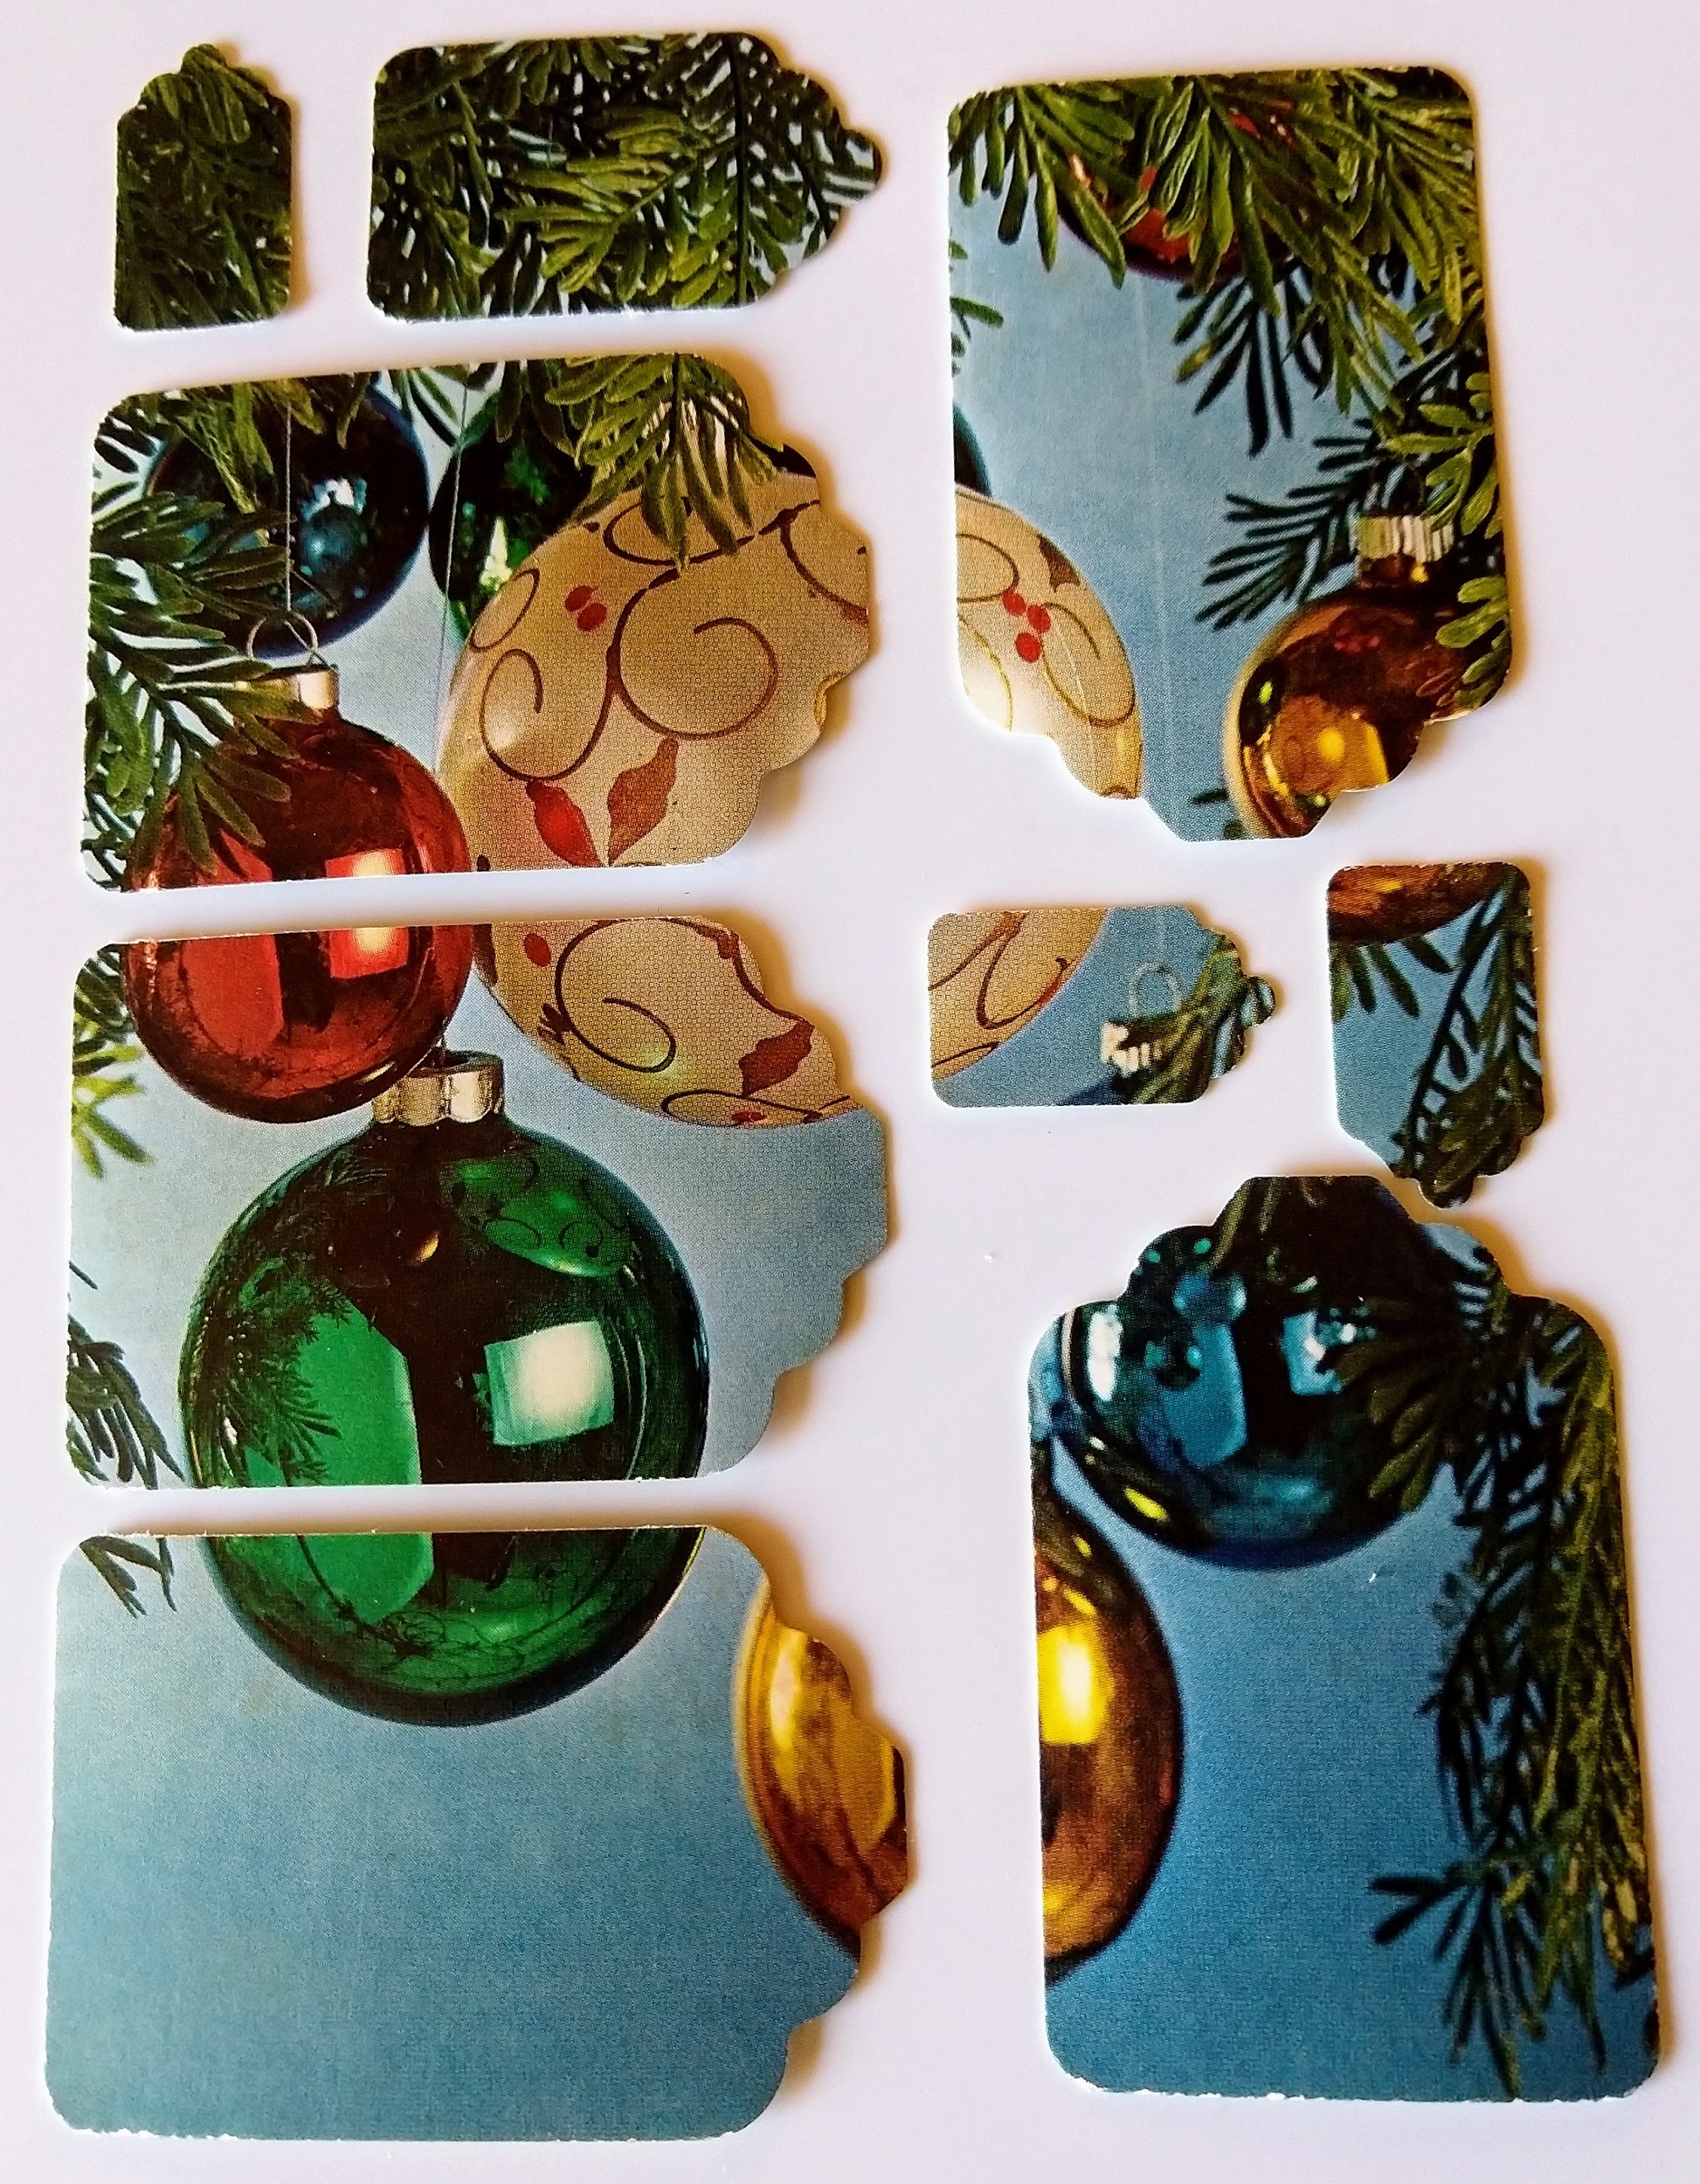
Gift Tags
Gift tags made from greeting cards!
Yield: 0 several tags
Cost: $25 or less
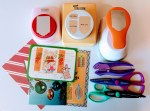
Equipment
- Tag Punch - see materials for links
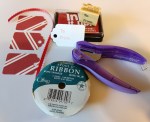
- Pair of scissors (regular or fancy edge)
Materials
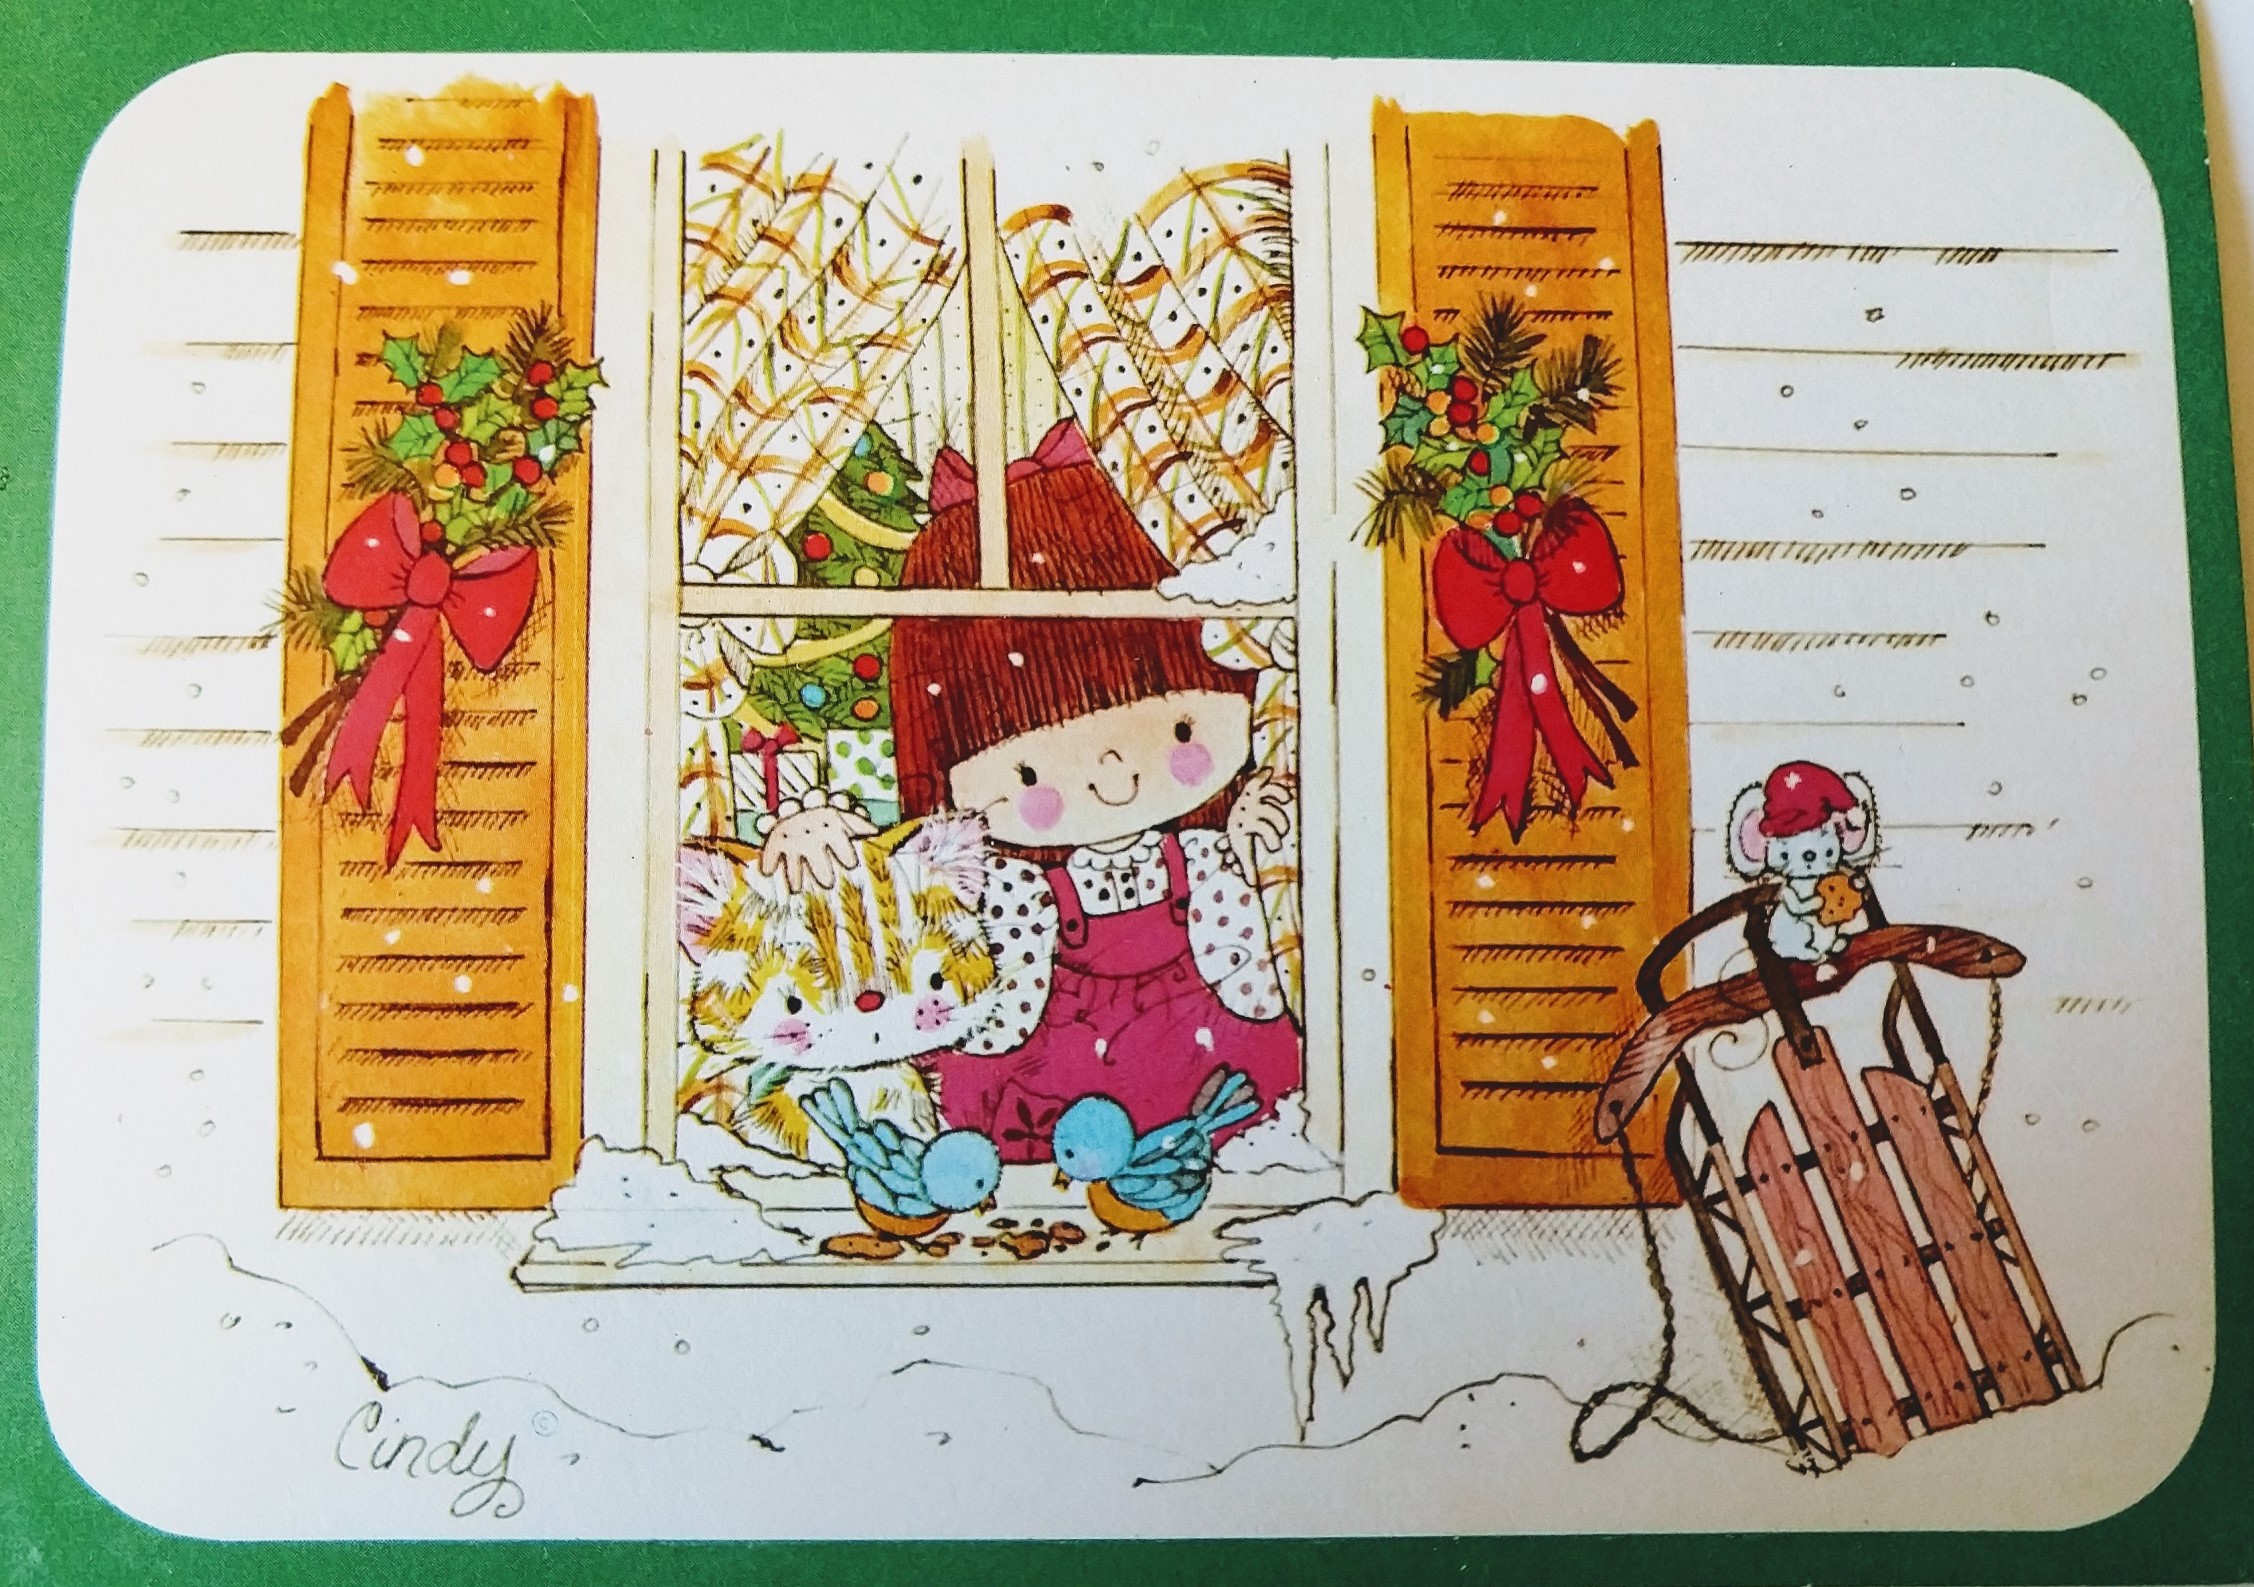
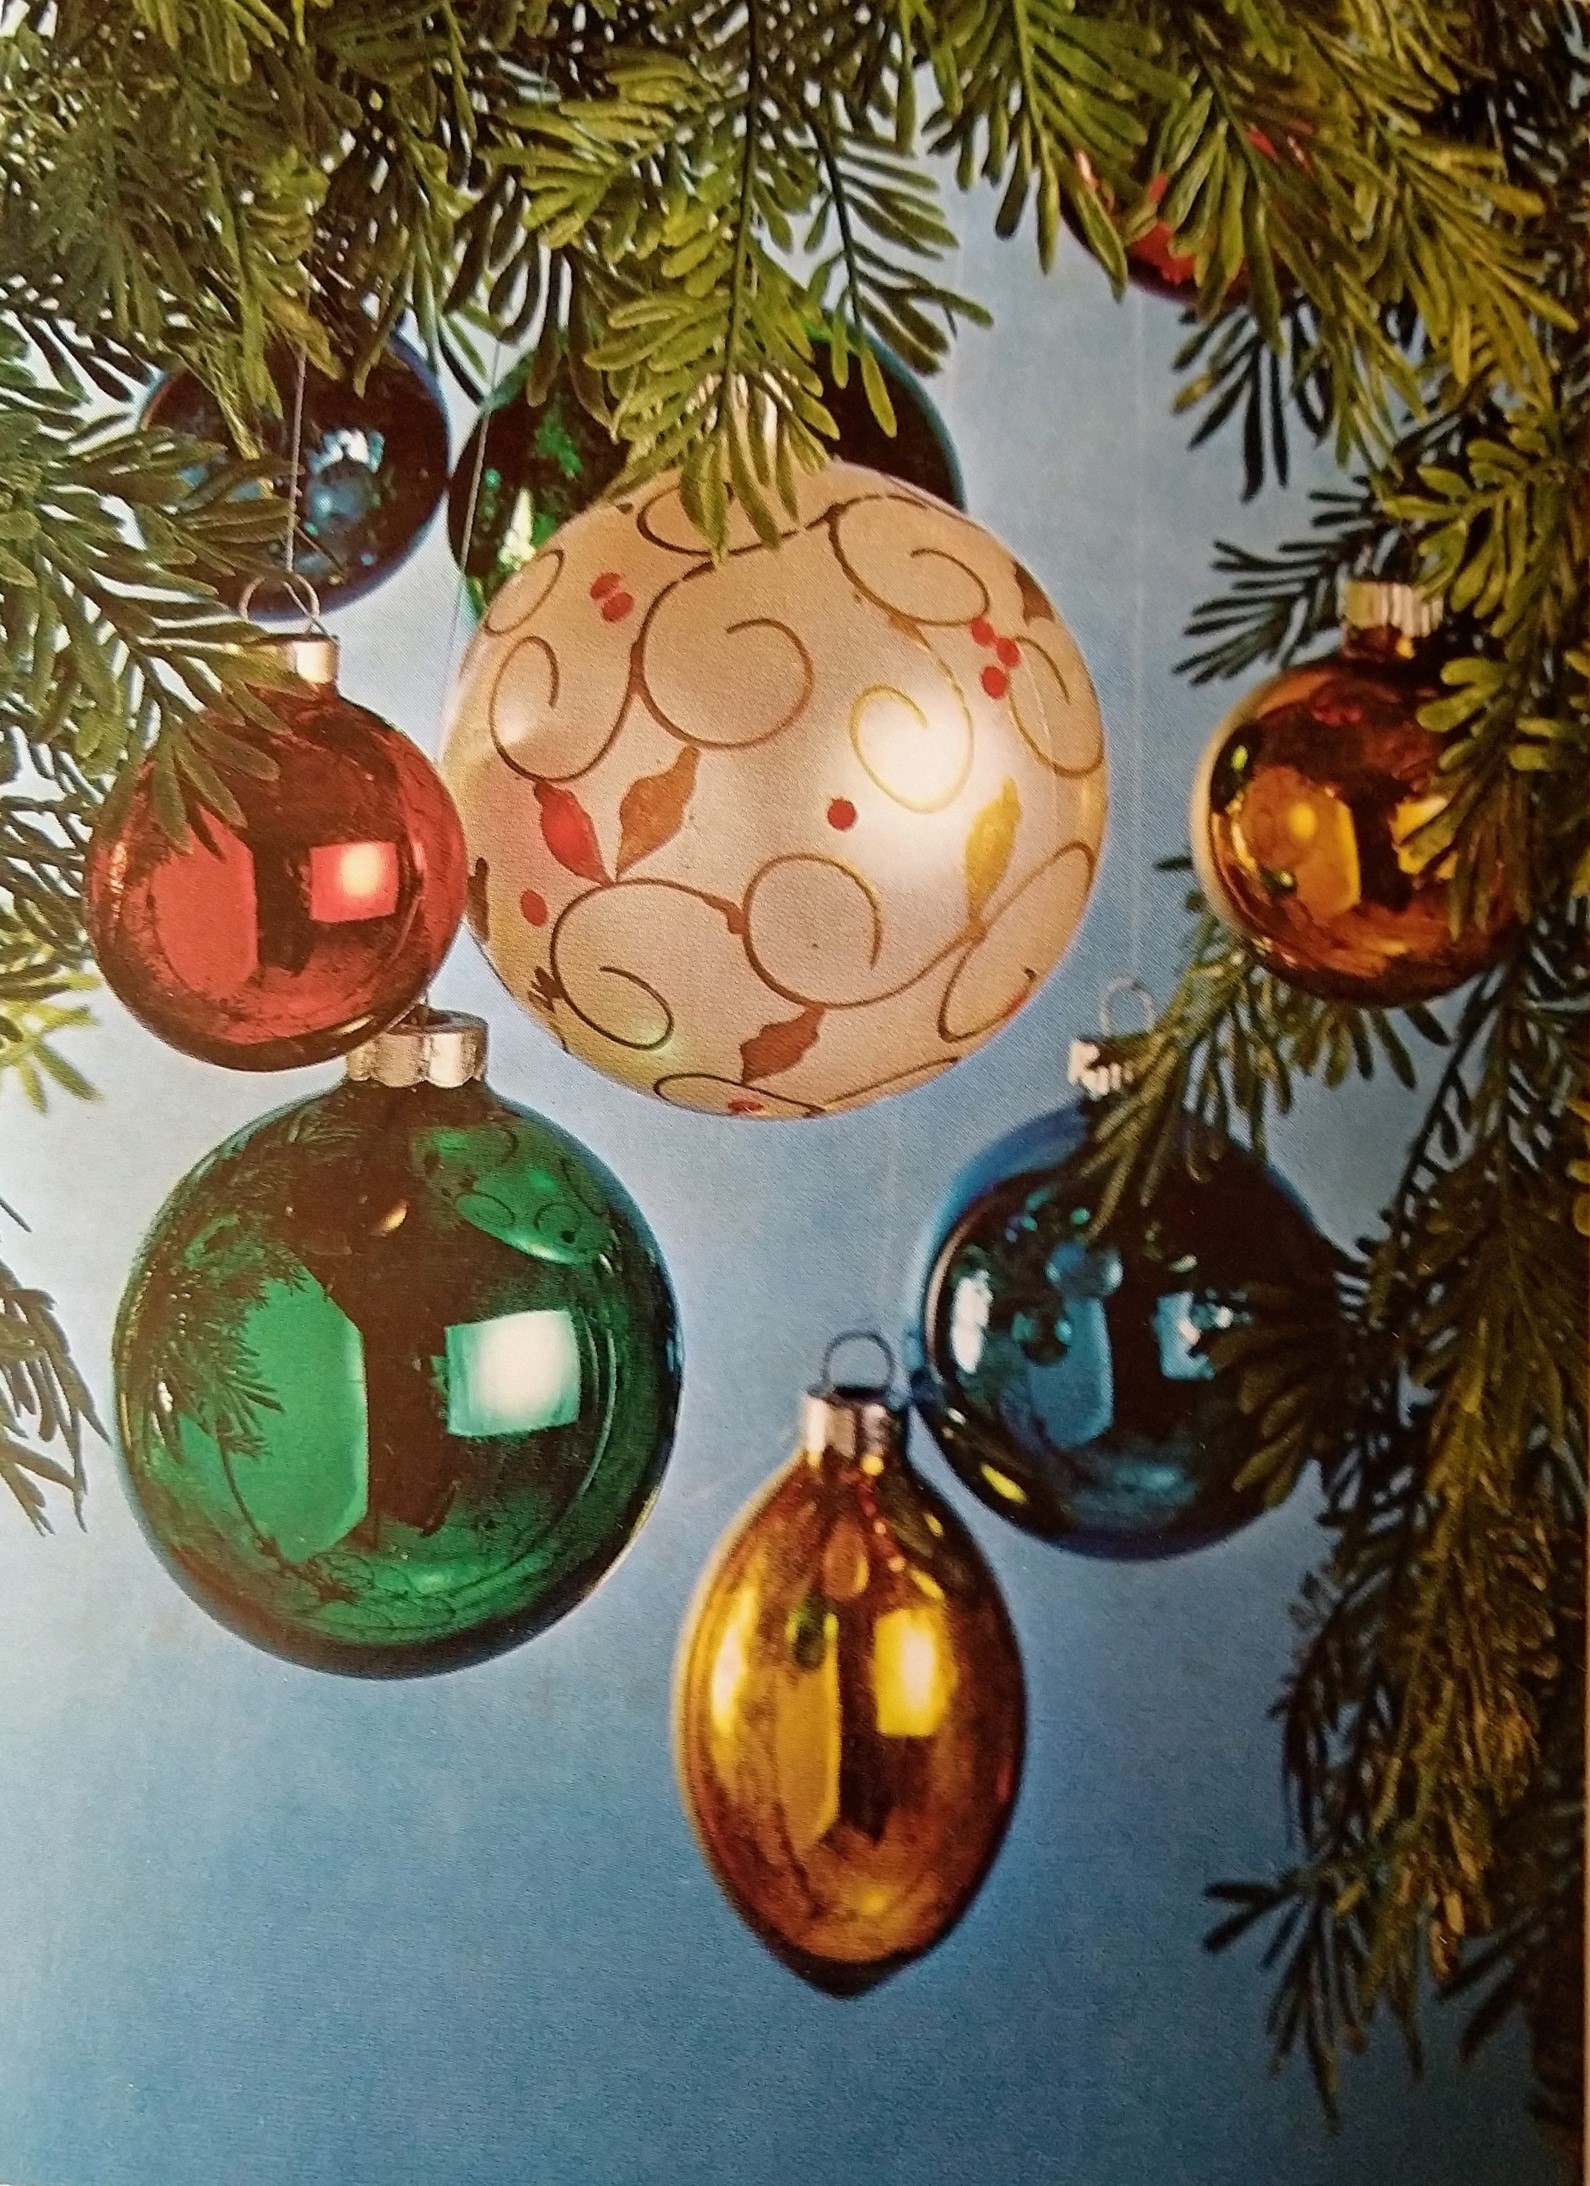
- 1 Greeting card cover only
- 1 spool Ribbon
- 1 Pen or ink pad
- 1 "To:/From:" rubber stamp
- 1 Fiskars Tag Punch (orange) https://www.joann.com/fiskars-xx-large-lever-punch-2-1-2in-tag/2412880.html#q=tag%2Bpunch&start=1
- 1 Multi-tag Punch (yellow)
Instructions
- Remove cover of card with scissors or carefully tear off. Do whatever you would like with the card back (usually the part with a message)!
- Remove or open the cover of your tag punch so that you will be able to clearly see the area you want. Another option is to use fancy edged scissors to cut out tags with a decorative edge.
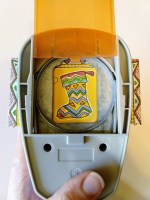
- Select certain areas of the card's picture or words that you want to capture in your tag by sliding the card into the punch and framing it in the viewing area.Press the button/lever to punch out the tag.

- Using a pen or an ink pad and rubber stamp, create a To: and From: section.
- Punch a hole for the ribbon and tie it on. You will now have a lovely set of cards and tags for your gift giving needs!