 Follow my blog with Bloglovin
Greeting Card Upcycle – 2 Ways!


Do you still have greeting cards out from Christmas or another recent occasion (Birthday, Anniversary, etc.)? Hate the thought of throwing them away, but you are not one to hang onto paper memories and you don’t scrapbook? Then these crafts are for you! They are perfect to do as a family or with friends for a craft night!
Glitter Cards
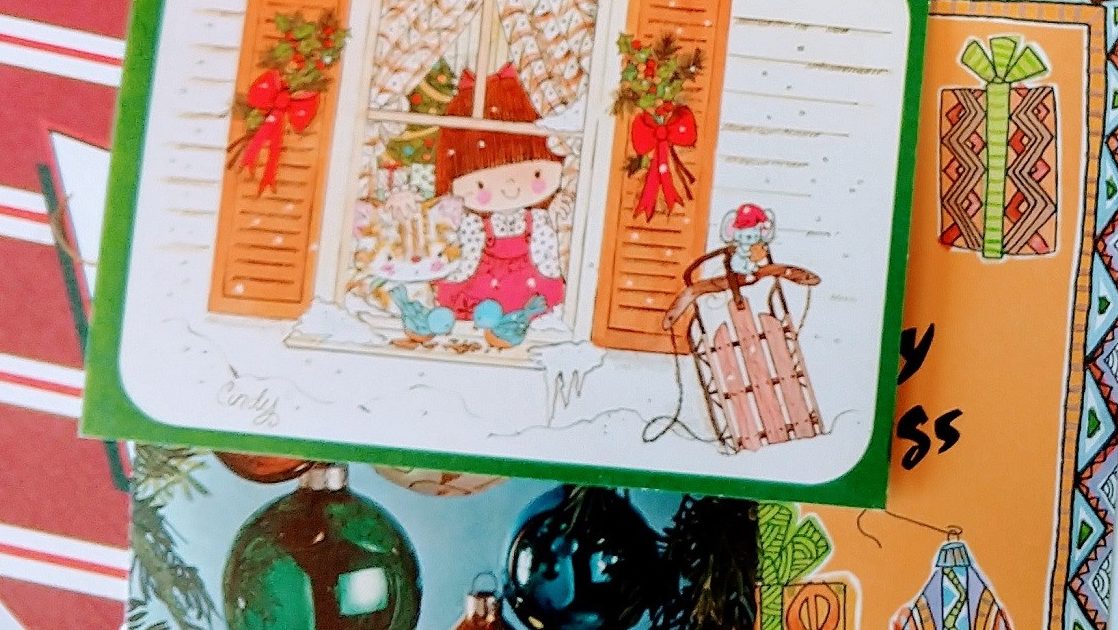
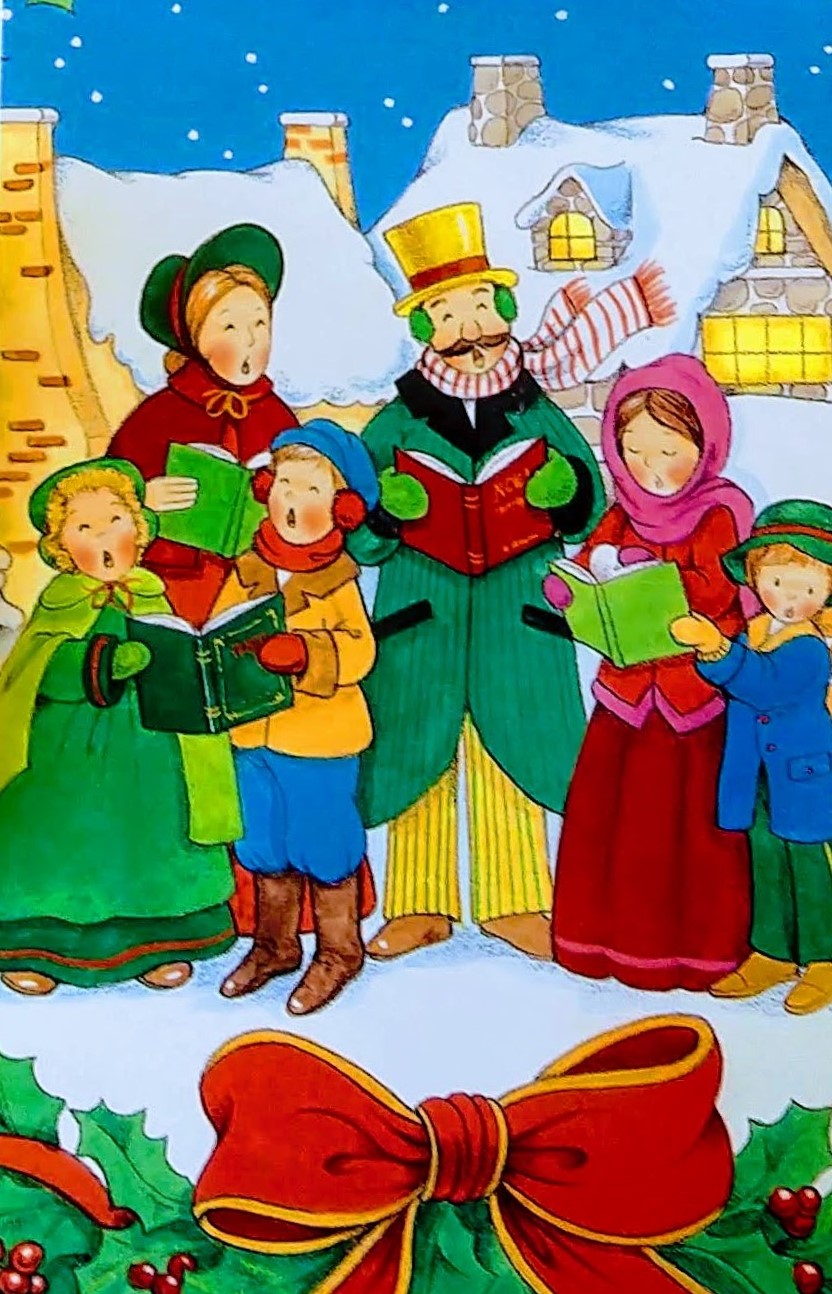
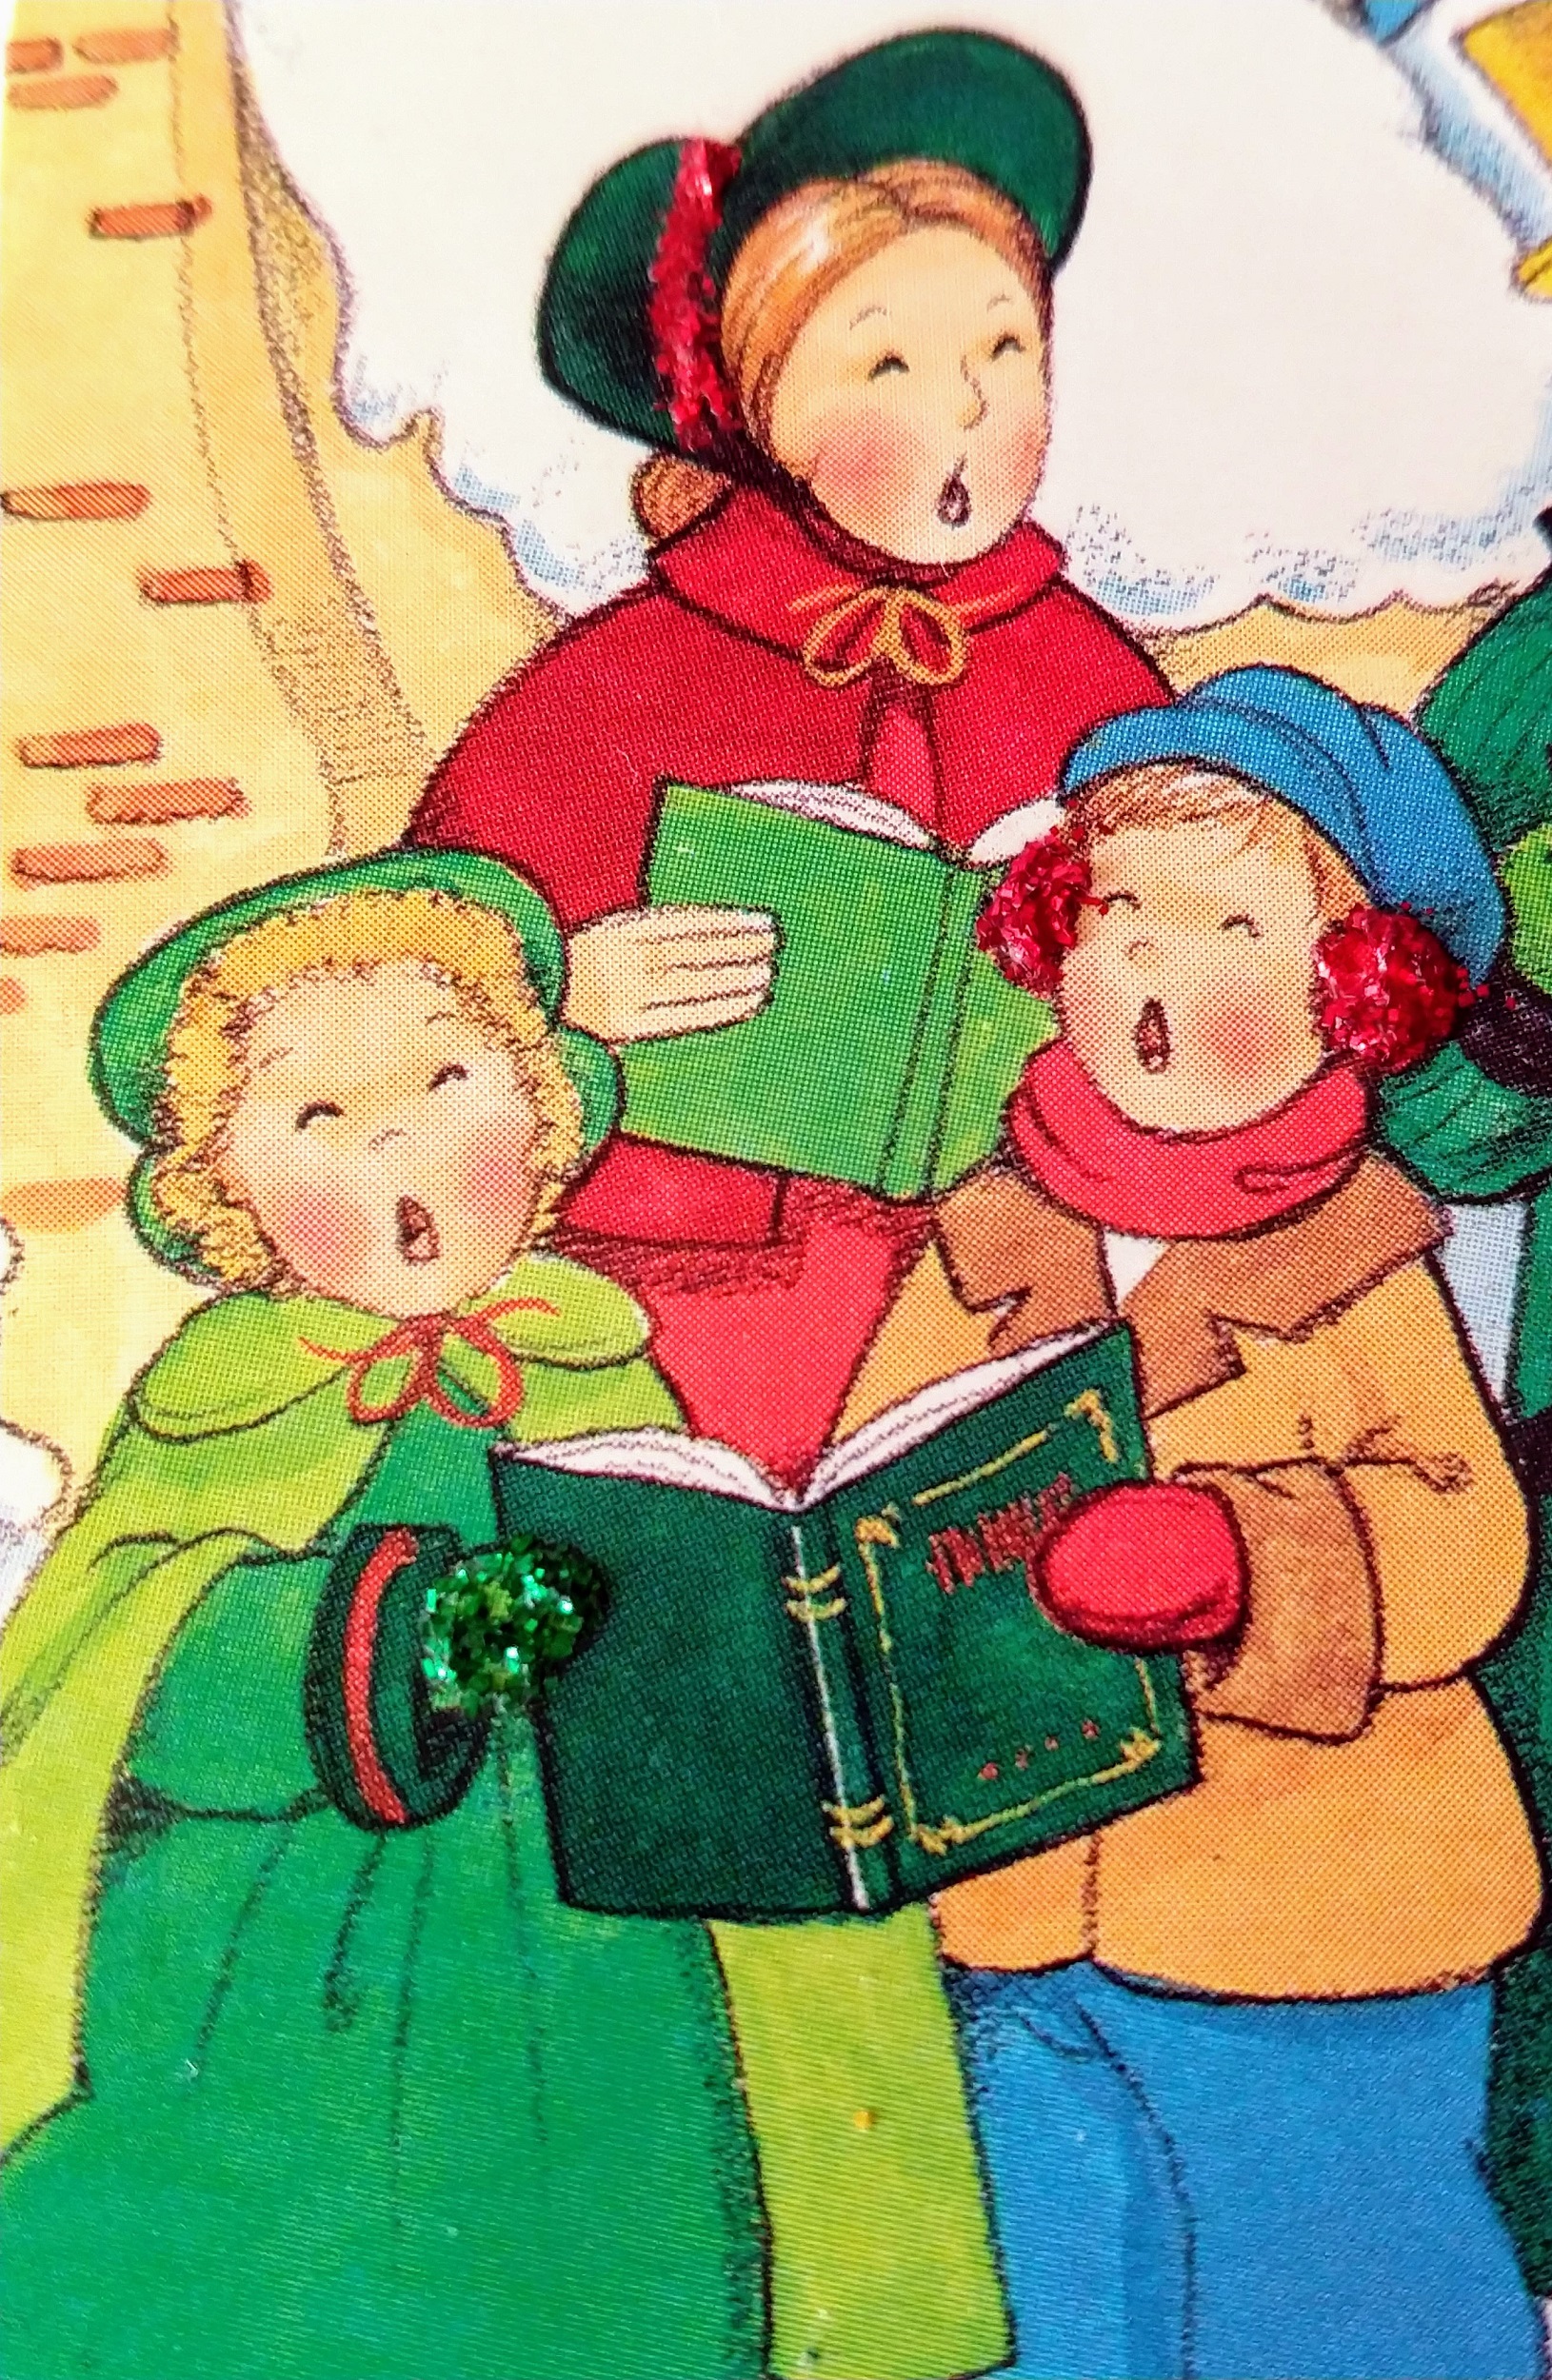
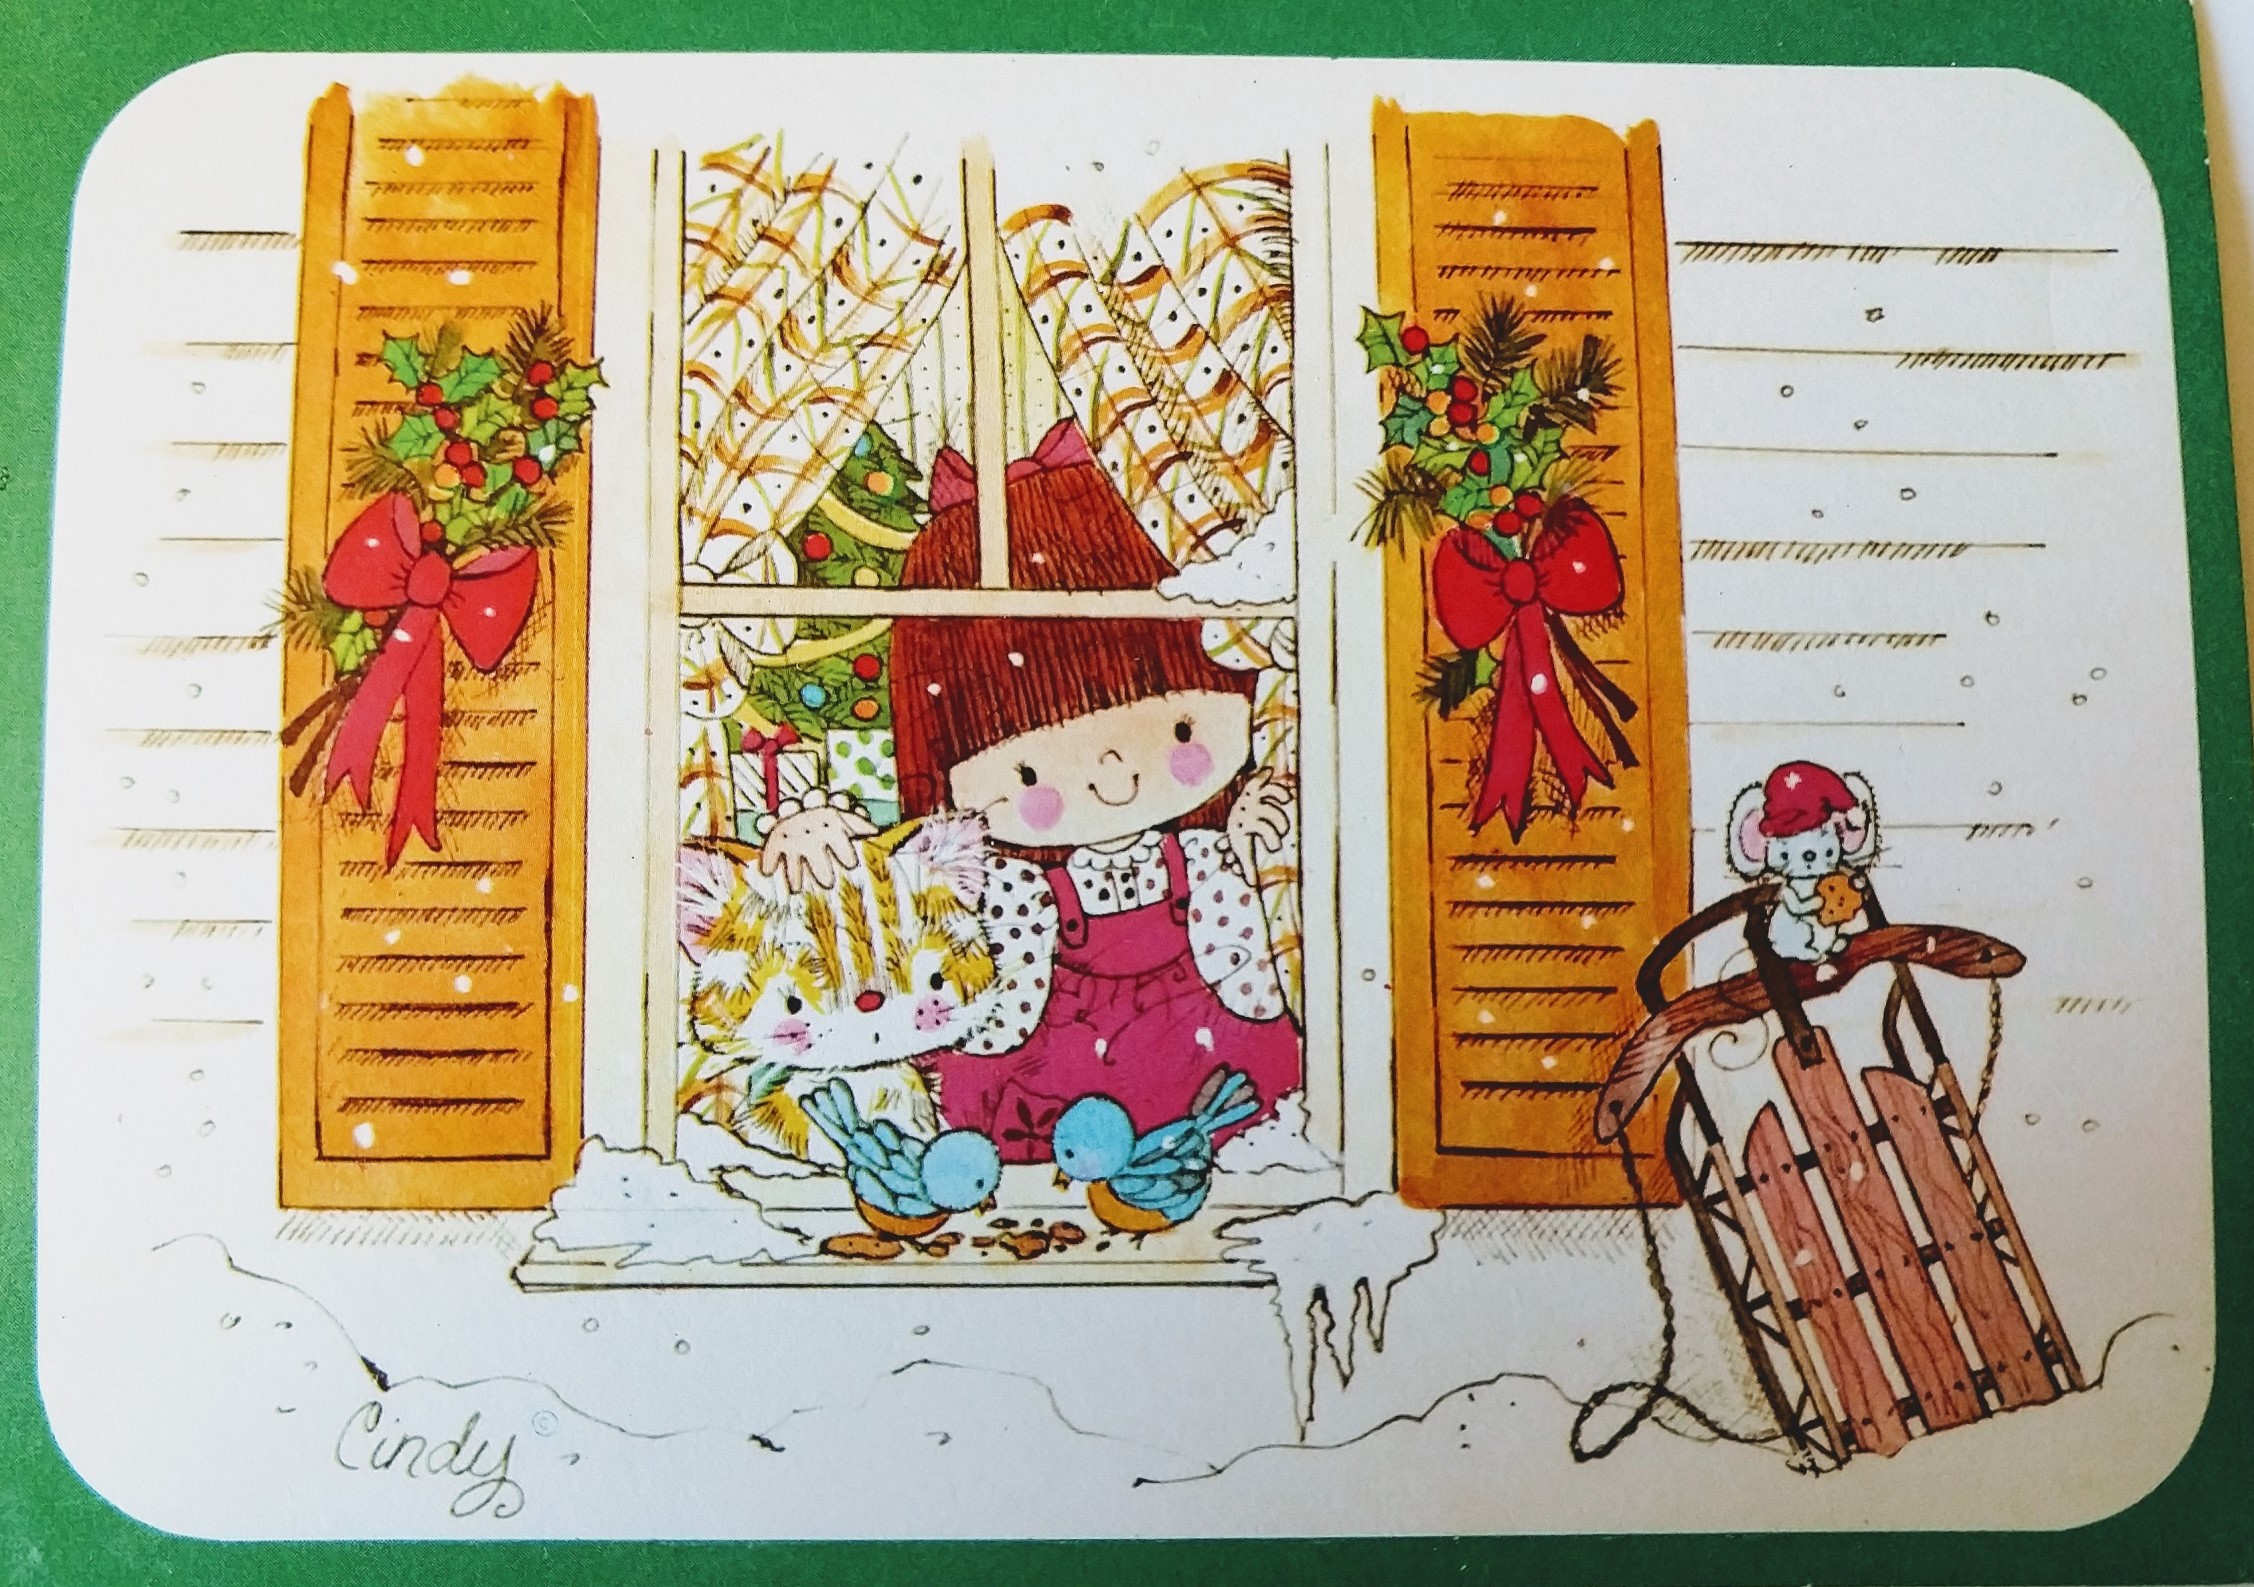
Have a card with a pretty picture or worded sentiment on the cover into which you want to breathe new life? This is super easy and only takes a few moments. These are perfect to send as a greeting to someone else or display in a picture frame.

Glitter Cards
Greeting Cards decorated with glitter!
Yield: 1 card
Cost: $5-$10
Equipment
- scissors
Materials
- 1 Greeting card
cover only - several Glitter glues – Elmer's Classic Glitter Glue (large bottles), Crayola Washable Glitter Glue (small tubes) or glitter and glue (in a bottle not a stick)
Instructions
- Remove cover of card with scissors or carefully tear off if you prefer a more rustic look! Do whatever you would like with the card back (usually the part with a message)!
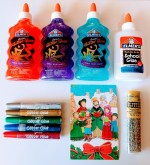
- Select certain areas of the card's picture or words to hi-light with the glitter and work from the top down.a. If using glitter glue (glue with glitter already mixed in), squeeze* bottle to color in or outline the area to be hi-lighted.b. If using glue and glitter separately, squeeze* glue onto area first and then sprinkle glitter over glue. Allow to dry and shake off the rest of the glitter.*You may need to use a toothpick to help apply the glue in really tiny areas.


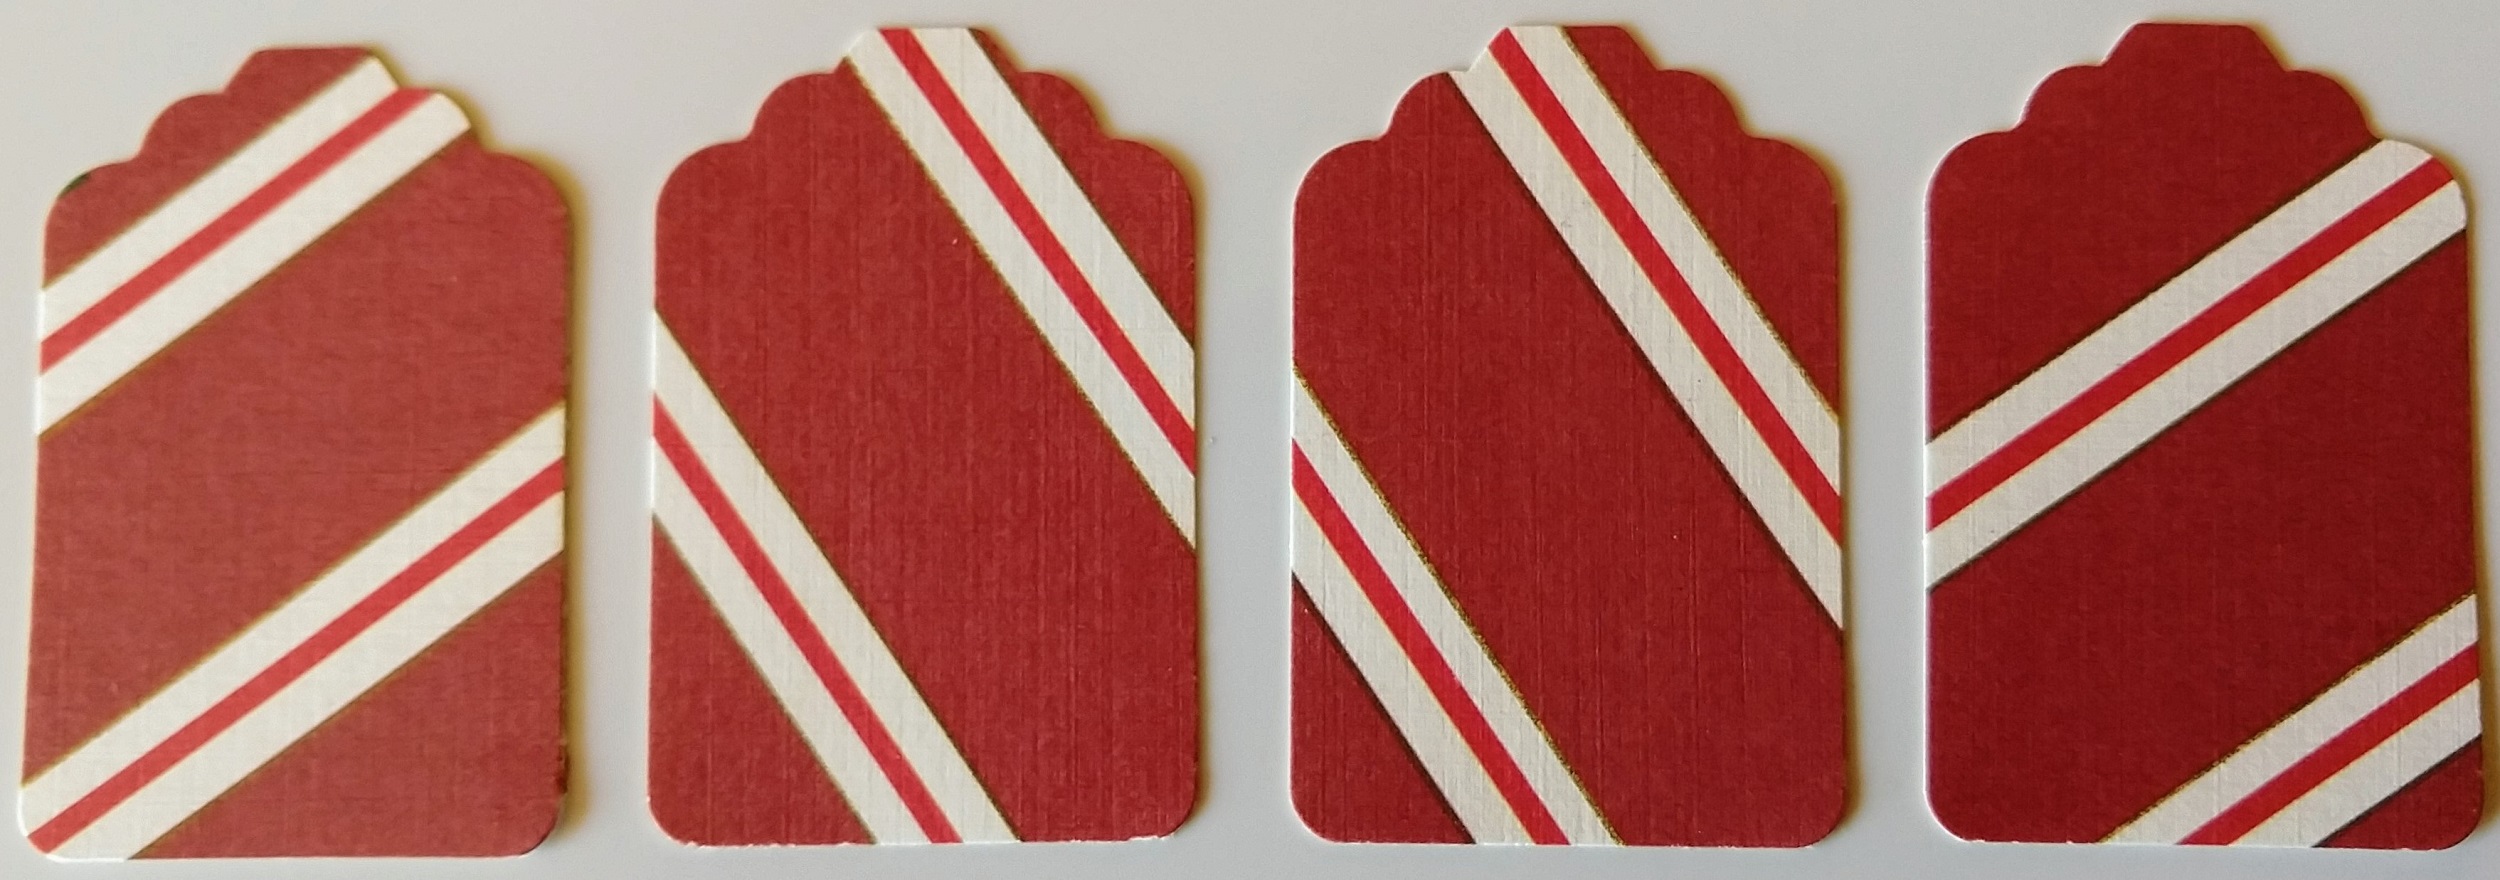
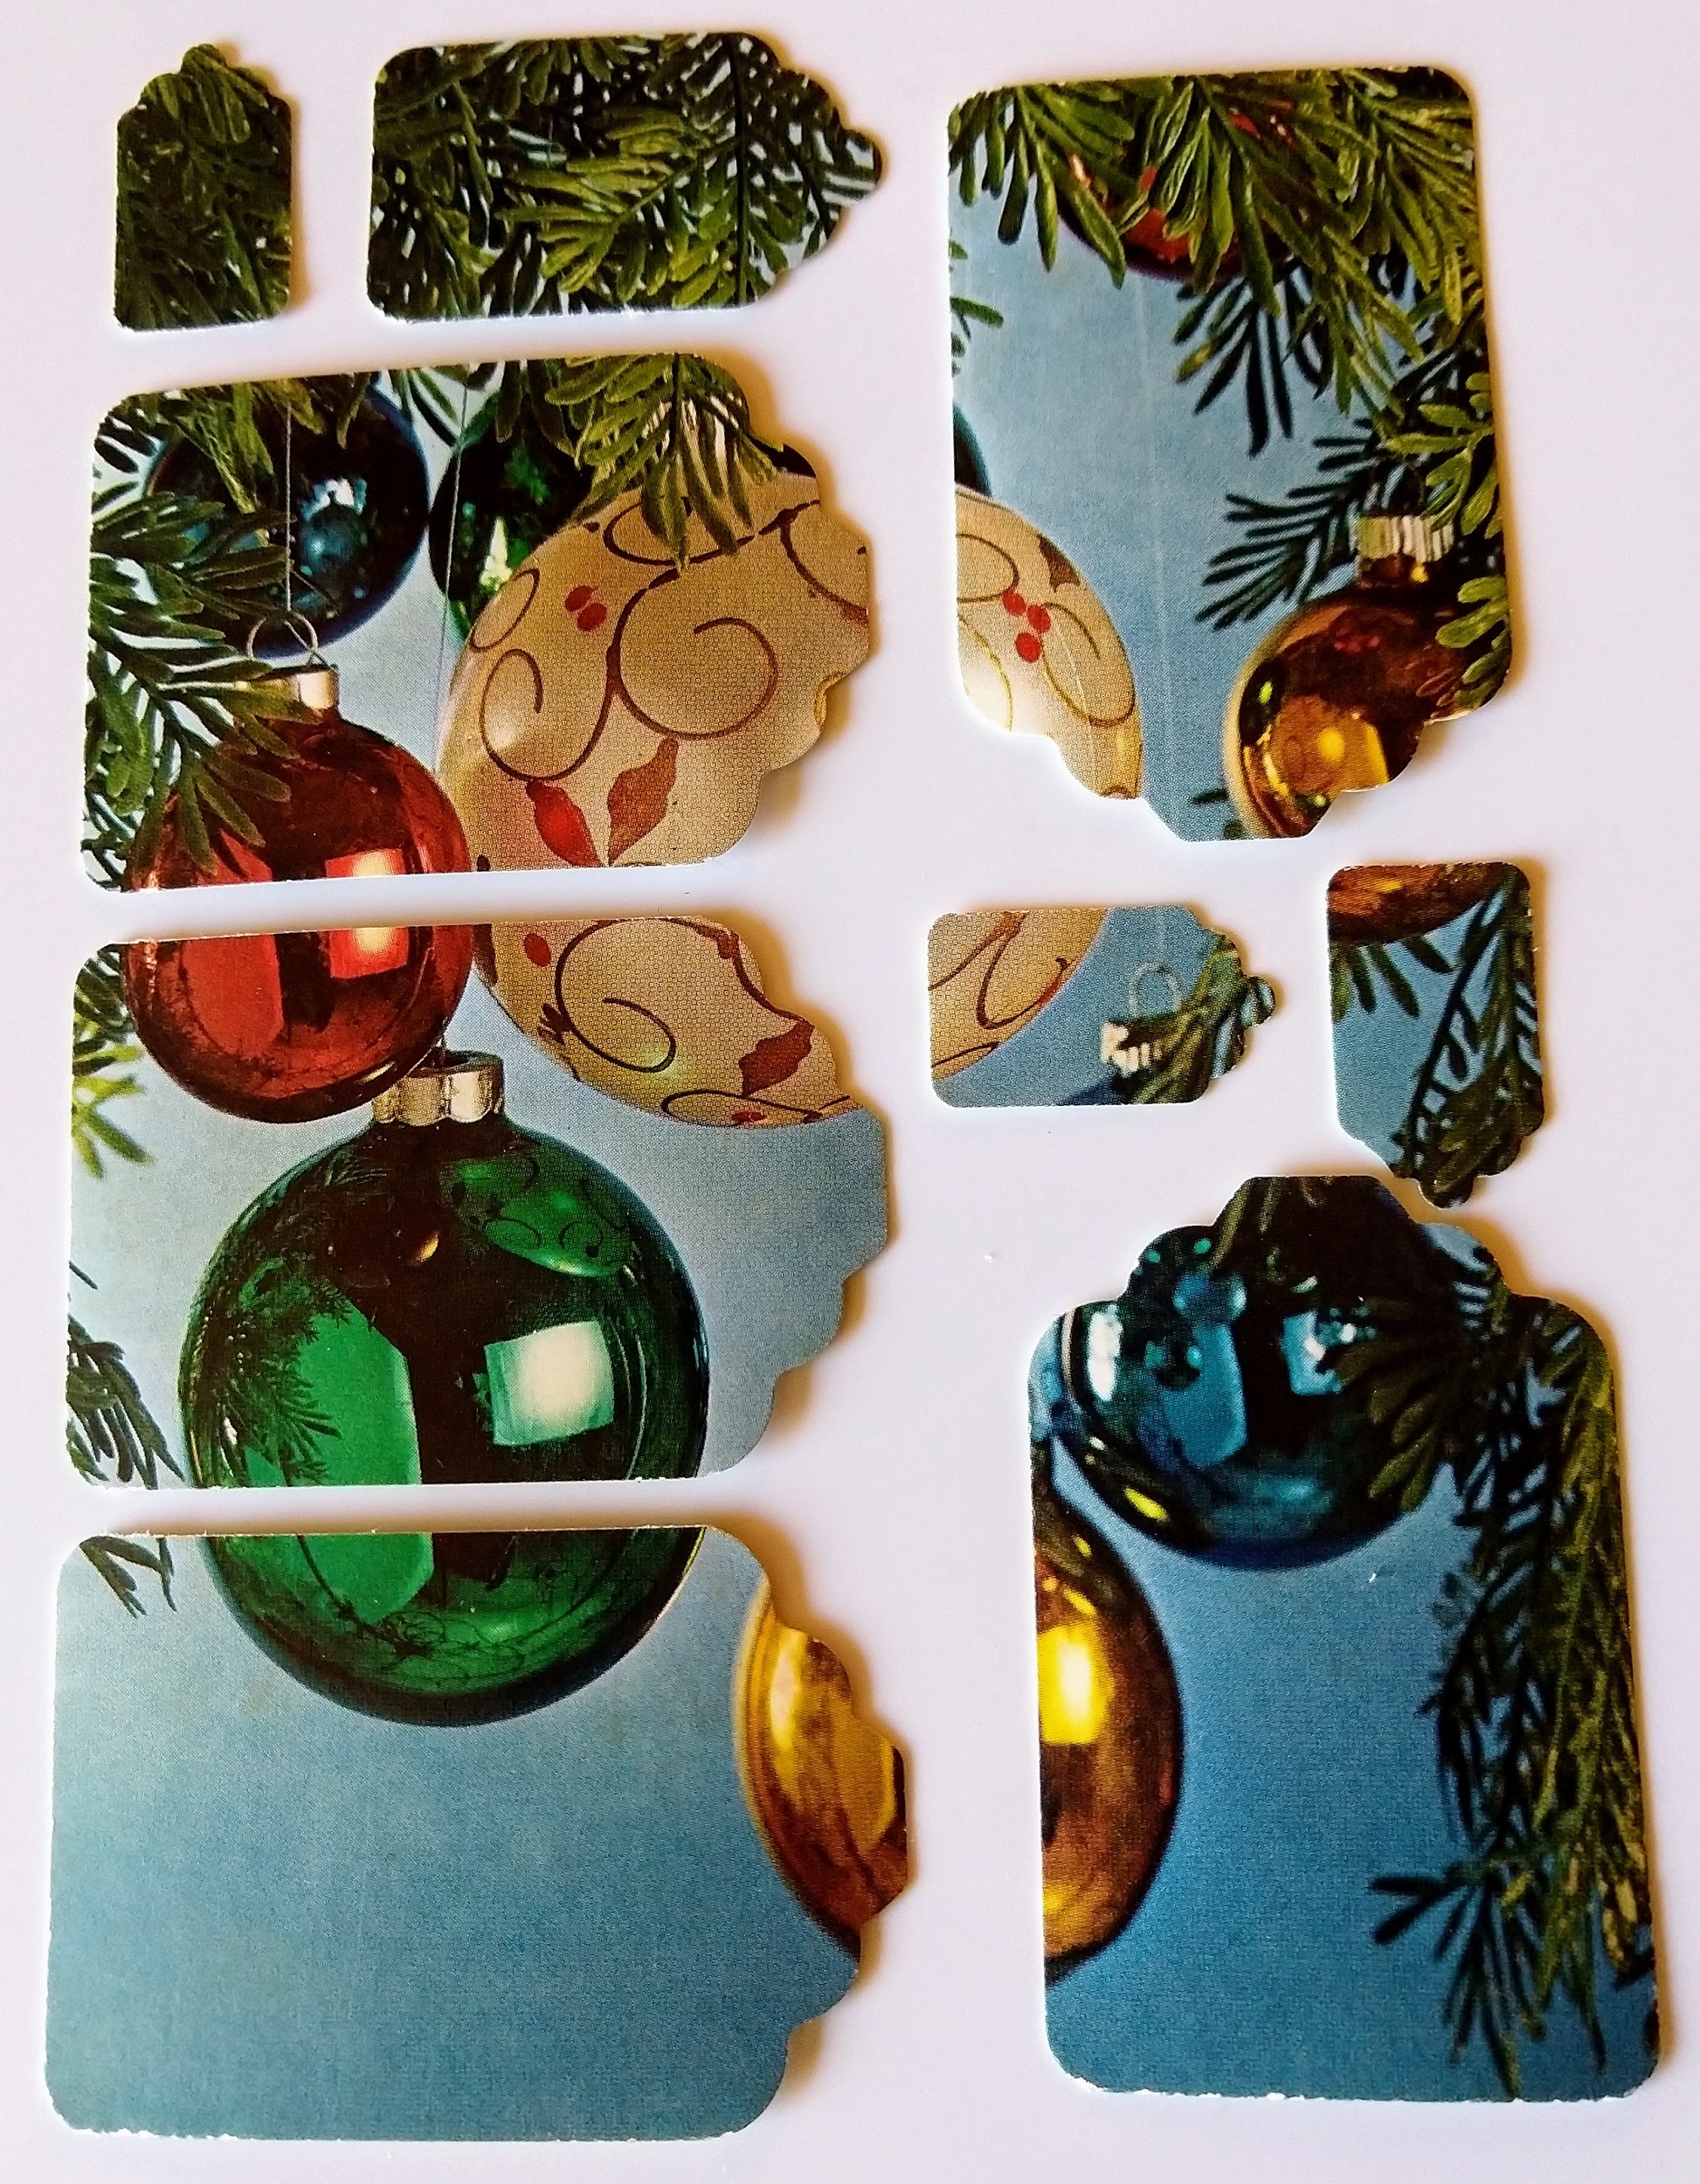
Gift Tags
Never fear if you run out of tags when wrapping a present! Save money by keeping some on hand for any occasion by putting your cards to good use.
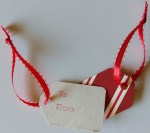
Gift Tags
Gift tags made from greeting cards!
Yield: 0 several tags
Cost: $25 or less
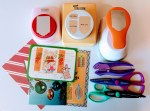
Equipment
- Tag Punch – see materials for links
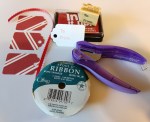
- Pair of scissors (regular or fancy edge)
Materials
- 1 Greeting card cover only
- 1 spool Ribbon
- 1 Pen or ink pad
- 1 "To:/From:" rubber stamp
- 1 Fiskars Tag Punch (orange) https://www.joann.com/fiskars-xx-large-lever-punch-2-1-2in-tag/2412880.html#q=tag%2Bpunch&start=1
- 1 Multi-tag Punch (yellow)
Instructions
- Remove cover of card with scissors or carefully tear off. Do whatever you would like with the card back (usually the part with a message)!
- Remove or open the cover of your tag punch so that you will be able to clearly see the area you want. Another option is to use fancy edged scissors to cut out tags with a decorative edge.
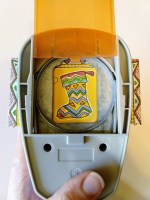
- Select certain areas of the card's picture or words that you want to capture in your tag by sliding the card into the punch and framing it in the viewing area.Press the button/lever to punch out the tag.

- Using a pen or an ink pad and rubber stamp, create a To: and From: section.
- Punch a hole for the ribbon and tie it on. You will now have a lovely set of cards and tags for your gift giving needs!


You must be logged in to post a comment.