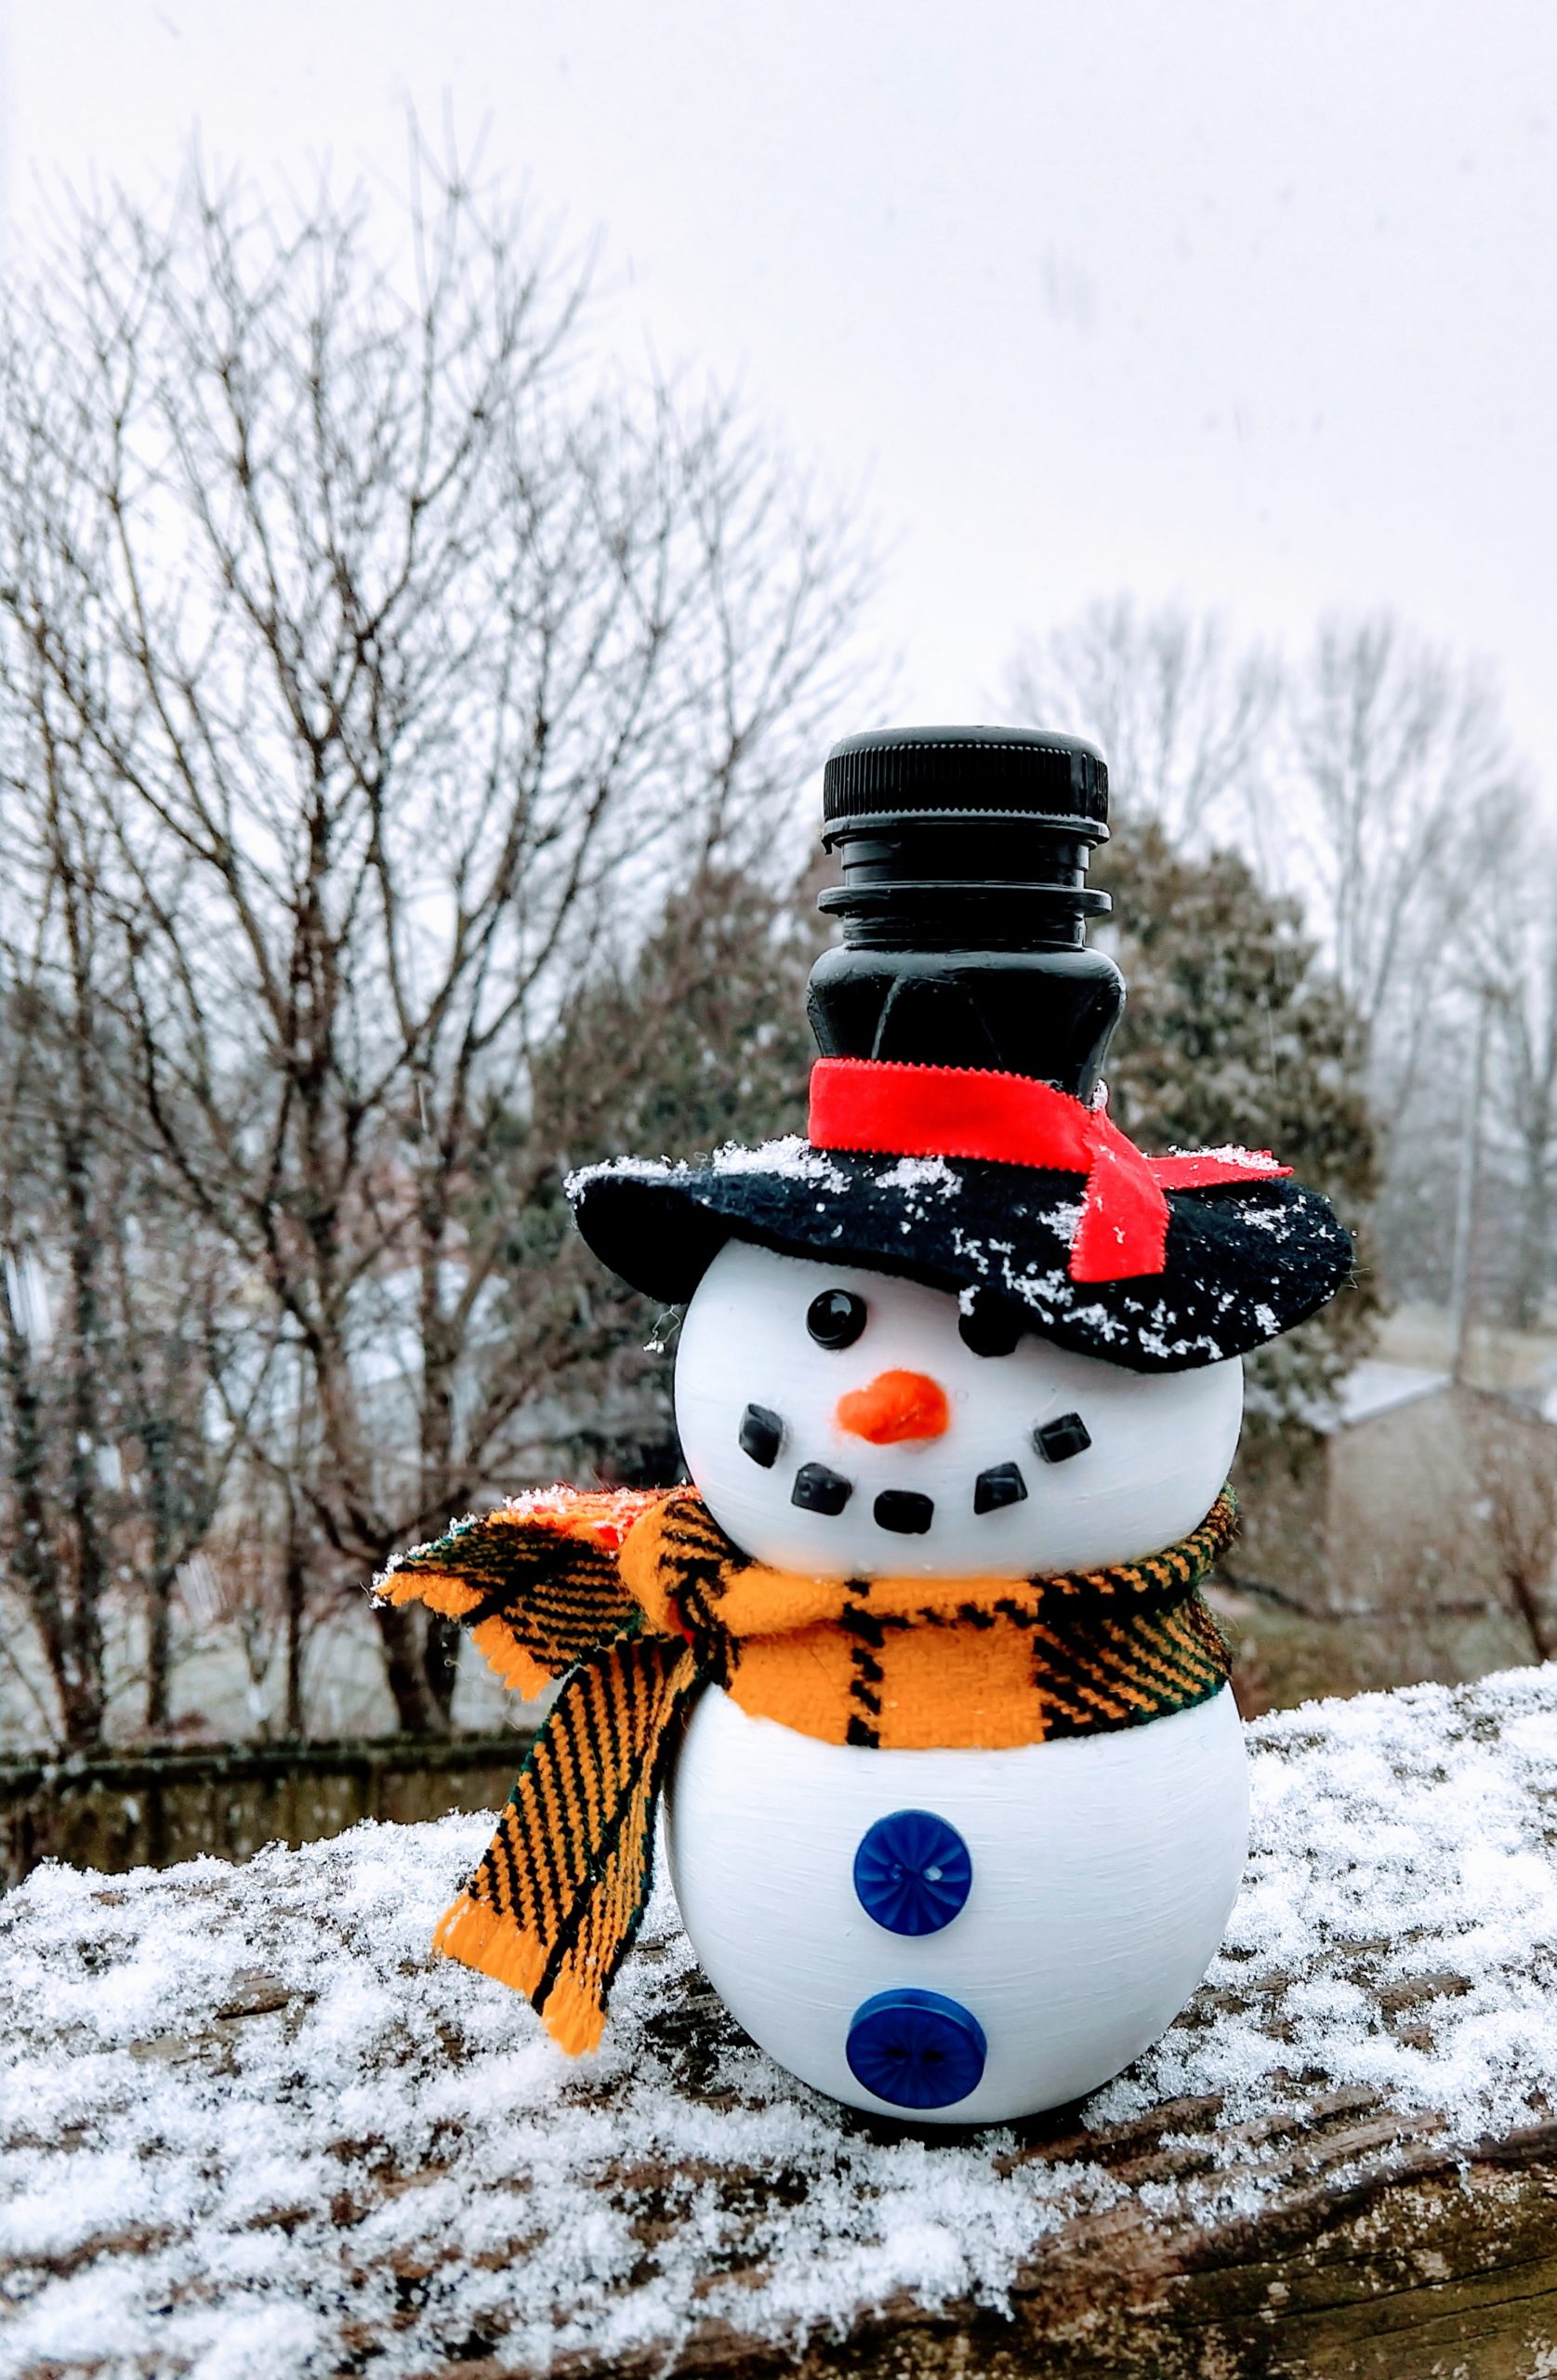
Pom Juice Bottle Snowman Tutorial
I love the shape of the Pom juice and tea bottles! They look like Snowmen and I love winter! These would be a great craft for a child or a child at heart. Display them around your house this winter or maybe in the summer if you are longing for cooler weather;-)!
Here is an easy tutorial for making a cool Snowman friend from a Pom Juice bottle!
Pom Juice Bottle Snowman Tutorial
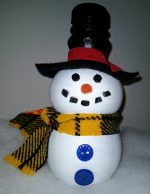
Snowman decor upcycled from a Pom juice bottle!
Yield: 1 snowman
Cost: $5-$10
Equipment
- 2 paint brushes
- paint palette
- scissors
Materials
- 1 Pom bottle with lid clean and empty
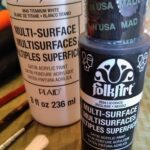
- 1 black paint for plastic I chose Folk Art Multi-Surface
- 1 white paint for plastic I chose Folk Art Multi-Surface
- 1 newspaper
- 1 piece black felt for hat brim
- 1 piece orange felt for nose
- 1 piece fabric for scarf
- 1 piece ribbon for hat band
- several small buttons, beads or pom-poms for decorating your snowman's face and belly
- 1 glue hot glue gun or one that will hold beads and stones
- 1-2 sticks or pipe cleaners (optional) if you want to add arms
- sand or rice (optional) to fill him so he doesn't fall over
Instructions
- Step 1: Paint white paint on both "bubbles" and let dry for an hour.Step 2: While the paint is drying, cut fabric for scarf. This can be as long as you'd like it, depending on how you will tie it (knot, bow) or if you want it to trail behind him. Step 3: Cut the ribbon for around his hat brim (dry measure to see how you want to position it or overlap the ends, etc).

- Step 4: Find a mug or container that is wider than the top "bubble". This will be used as your pattern for the hat brim. Use chalk to trace. Cut out circle and trace Pom lid in the center of that circle and cut it out.Step 5: Cut a small orange felt triangle. Roll this up and glue to secure. This will be his cute little nose!Step 6: Paint 2nd coat and go listen to some Christmas music!
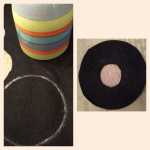
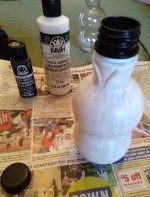
- Step 7: Once white paint is dry, paint the top of the bottle and lid (separately) black and let dry for 30-60 minutes.Step 8: Paint 2nd coat of black paint and let dry 30-60 minutes.
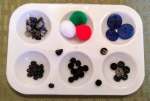
- Step 9: Once paint is dry, it is time to decorate your snowman! Cut slits or a small hole into his side if you want to add twig or pipe cleaner arms. Place the black circle over the snowman's head til it sits between black and white paint. I used tiny black buttons for eyes, beads that looked like coal for his mouth and some random buttons for his belly! He sports a yellow plaid scarf and a red velvet ribbon glued around where the felt meets the plastic on his head.Step 10: Fill with sand or rice (optional) so he doesn't fall over.
- Step 11: Display proudly! Maybe he'll hang out with the Elf on the Shelf!



You must be logged in to post a comment.